
Stone Core Drilling Guide for Stone Benchtops

A tap hole looks simple until it is being drilled through a finished stone benchtop in a completed kitchen. One wrong measurement, a dry drill bit or too much pressure can leave a chipped edge, heat damage or a cracked slab. This stone core drilling guide explains what needs to happen before, during and after drilling so the job is accurate, controlled and safe.
Core drilling is used where a clean circular opening is required in natural or engineered stone. Typical applications include mixer taps, filtered-water taps, Zip taps, popup power points, soap dispensers and service penetrations. When the benchtop is already installed, the work has to protect far more than the stone itself. Cabinetry, splashbacks, appliances, flooring and the people working nearby all need consideration.
What stone core drilling involves
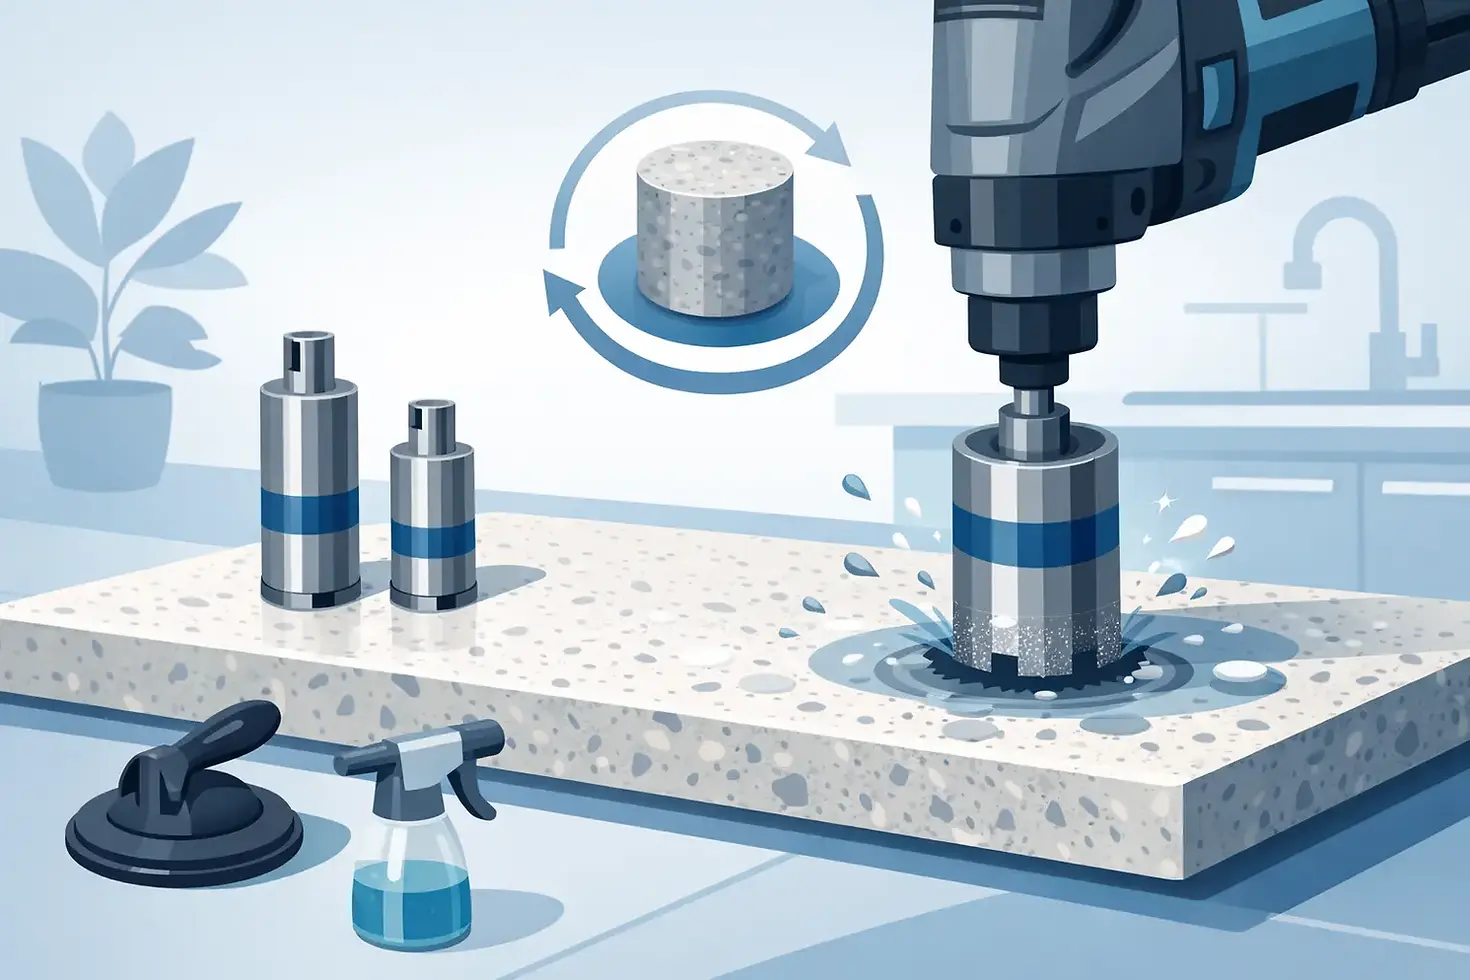
A core drill uses a diamond-tipped hollow bit to remove a circular section of stone. Unlike a standard drill bit, it cuts around the edge of the hole rather than grinding out the whole centre. That makes it the correct method for most neat, round benchtop openings.
The tool matters, but the process matters more. Stone must be drilled wet. Water cools the diamond bit and the stone surface, reduces friction and suppresses silica-containing dust at the point of cutting. It also helps prevent the bit from glazing over, where the diamond edge becomes less effective and starts generating excess heat.
Dry drilling an engineered stone benchtop is not a shortcut. It creates a serious silica dust risk and increases the chance of overheating the work area. Heat can damage the stone, weaken resin-bound engineered surfaces and contribute to cracking, particularly near a cut-out, seam or unsupported section of the slab.
Assess the benchtop before drilling
There is no safe universal position for a tap hole. The right location depends on the slab, the cabinet below, the fixture being fitted and clearances for plumbing or electrical work. A hole that looks centred from above may land on a cabinet rail, sink bowl, drawer runner or appliance below.
Before core drilling starts, the operator should confirm the hole diameter specified by the fixture manufacturer and physically check the proposed location. Measurements should account for the tap base plate, reach of the spout, sink position and access for tightening hardware beneath the benchtop. A plumber or electrician may need to confirm their requirements before the stone is altered.
The stone condition also needs a close inspection. Existing chips, hairline cracks, seams and previous cut-outs affect where and how a hole can be made. Drilling too close to an edge, inside corner, sink cut-out or seam can place stress on a vulnerable area. In some cases, moving the hole slightly is sensible. In others, the requested alteration may carry more risk than the client expects.
Thickness is another factor. A 20 mm stone benchtop behaves differently from a thicker laminated edge or a porcelain surface. Natural stone varies in density and can contain veins or softer sections. Engineered stone is generally consistent, but it still requires the right diamond tooling, steady pressure and water control. Porcelain and sintered stone can be particularly prone to chipping if the technique is wrong.
Why wet core drilling is the safer method
Silica exposure is a serious issue in stone work. Engineered stone can contain high levels of crystalline silica, and any process that creates airborne dust must be controlled properly. Wet cutting is the practical on-site method because it keeps the cutting area cool while controlling dust at its source.
A proper wet drilling setup is not simply pouring water onto a spinning bit. Water needs to be applied consistently, and slurry needs to be contained so it does not spread through cabinetry or onto finished floors. The surrounding area should be protected before work begins, with care taken around power points, appliances and newly installed joinery.
Wet drilling also protects the stone. Friction creates heat quickly, especially when a core bit is forced instead of allowed to cut. Excess heat can lead to discolouration, surface damage, thermal stress and premature wear of the tooling. Controlled water flow and patient drilling produce a cleaner opening with less risk to the slab.
The trade-off is that wet work requires more preparation. It takes time to protect the kitchen, manage water and clean up slurry correctly. That preparation is worth it. Rushing a hole in an expensive benchtop is how a small upgrade becomes a replacement claim.
The stone core drilling process on site
The first step is to mark and verify the centre point. This should be checked from above and below the benchtop before any cutting starts. For a tap installation, the fixture should sit where it can operate properly without fouling the splashback, sink or window ledge. For popup power points, the opening needs to suit the unit body as well as its visible top plate.
Next comes protection. Nearby surfaces are covered, water collection is arranged and the drilling area is set up to keep slurry under control. Where access allows, the underside of the stone and the inside of the cabinet are also protected. The aim is a precise alteration without turning a finished kitchen into a cleanup job.
The diamond core bit is then started carefully. A drill guide or controlled starting technique prevents the bit skating across the polished stone surface. Once a shallow groove is established, the drill is held steady and advanced at a measured pace with continuous water cooling. Forcing the bit is counterproductive. It raises heat, increases vibration and can chip the exit edge.
As the bit nears the underside, the operator must manage breakout risk. The final part of the cut is often where damage occurs, particularly on brittle materials or unsupported sections. The correct approach depends on access, stone type and hole location. A specialist may drill through in a controlled manner, support the exit area or use a staged method to protect the finished face.
After the core is removed, the hole edge should be checked for chips and cleaned of slurry. Some fittings require a specific edge finish or slight easing so the fixture seats neatly. The hole should then be dry and clear before the plumber, electrician or installer completes their work.
Common mistakes that damage benchtops
The biggest mistake is treating stone like timber, laminate or standard tile. A benchtop slab is heavy, brittle in certain areas and costly to replace. A general-purpose drill, dry hole saw or uncontrolled pressure does not belong on a finished stone surface.
Another common problem is drilling before the final fixture is on site. Manufacturer hole sizes vary. A tap may need a 32 mm opening, while a filtered-water tap or popup unit may require something very different. Guessing can leave an opening too small, too large or in the wrong position. A hole cannot be put back.
Poor coordination causes just as much trouble as poor drilling. Cabinet installers, plumbers, electricians and stone specialists need to work from the same plan. If a sink, tap or power point changes after the benchtop is installed, the alteration should be reviewed before anyone starts cutting.
Avoid drilling close to existing stress points without assessment. The area around sink and cooktop cut-outs already has reduced strength, especially at internal corners. A new hole may still be possible, but it is not a job for assumptions.
When to call a specialist
An installed stone benchtop is not the place to test a DIY tool or send in a contractor who does not routinely cut stone. This is especially true for engineered stone, porcelain, large-format sintered surfaces and older slabs with unknown repairs or cracks.
A mobile stone modification specialist can assess the material, verify the proposed opening, protect the work area and use wet-cutting methods suited to the job. StoneCut carries out on-site wet cutting across Sydney for tap holes, power point openings, sink and cooktop alterations, and other benchtop modifications where accuracy and clean work matter.
Photos of the benchtop, the proposed hole location, the fixture specification and access below the stone make quoting and planning far more accurate. They also help identify issues before the trades arrive on site.
If a new fixture needs a hole through a finished stone benchtop, pause before any drilling starts. Confirm the final dimensions, check what sits below the slab and choose wet core drilling that protects both the kitchen and the people working in it.


Comments