
Stone Drilling for Benchtops Without the Dust

Updated: Aug 31
A new tap, pop-up power point, or filtered-water system should not mean removing a perfectly good stone benchtop. However, stone drilling is not a job for a standard drill, a dry grinder, or guesswork. One poorly positioned hole can crack the surface, chip an exposed edge, or send hazardous silica dust through an otherwise finished kitchen.
For installed benchtops, the right approach is precise on-site wet drilling. It allows the required hole or cut-out to be made where the benchtop sits, with controlled water, suitable tooling, and proper protection for the surrounding cabinetry, appliances, and flooring. This work is specialized because the material is expensive, brittle in the wrong conditions, and often part of a completed renovation.
What is Stone Drilling Used For?
Stone drilling creates clean, accurately sized circular holes through natural or engineered stone. In a kitchen, laundry, or bathroom, this usually supports a specific fixture or service. Common examples include tap holes, mixer holes, Zip tap holes, soap dispenser holes, pop-up power points, and cable grommets.
The required hole is not always straightforward. A standard mixer tap may need a relatively small opening, while a pop-up power point can require a larger diameter and very exact placement. The position must account for the sink, splashback, cabinet structure, plumbing, electrical clearances, and the fixture manufacturer’s specifications.
A hole that is only a few millimeters out can leave a tap too close to a splashback, interfere with a sink bowl, or make a fitting impossible to secure from underneath. This is why measurements should be confirmed before any tool touches the stone.
Why Dry Drilling is the Wrong Option Indoors
Most modern stone benchtops contain silica. When stone is cut or drilled dry, it can release respirable crystalline silica dust—extremely fine particles that can remain suspended in the air and be inhaled. Exposure to silica dust is a serious health risk, particularly in enclosed spaces such as kitchens and laundries.
Dry drilling also creates a mess that travels. Dust settles inside drawers, cabinets, appliances, vents, and adjoining rooms. Covering nearby surfaces helps, but it does not make uncontrolled dry cutting an acceptable approach around a finished home.
Heat is another problem. Drilling stone without water generates friction quickly. Excess heat can burn through tooling, mark the surface, cause chipping around the hole, and place stress on the slab. In some cases, that stress can contribute to cracking, especially near joins, edges, sink cut-outs, or weaker areas of the benchtop.
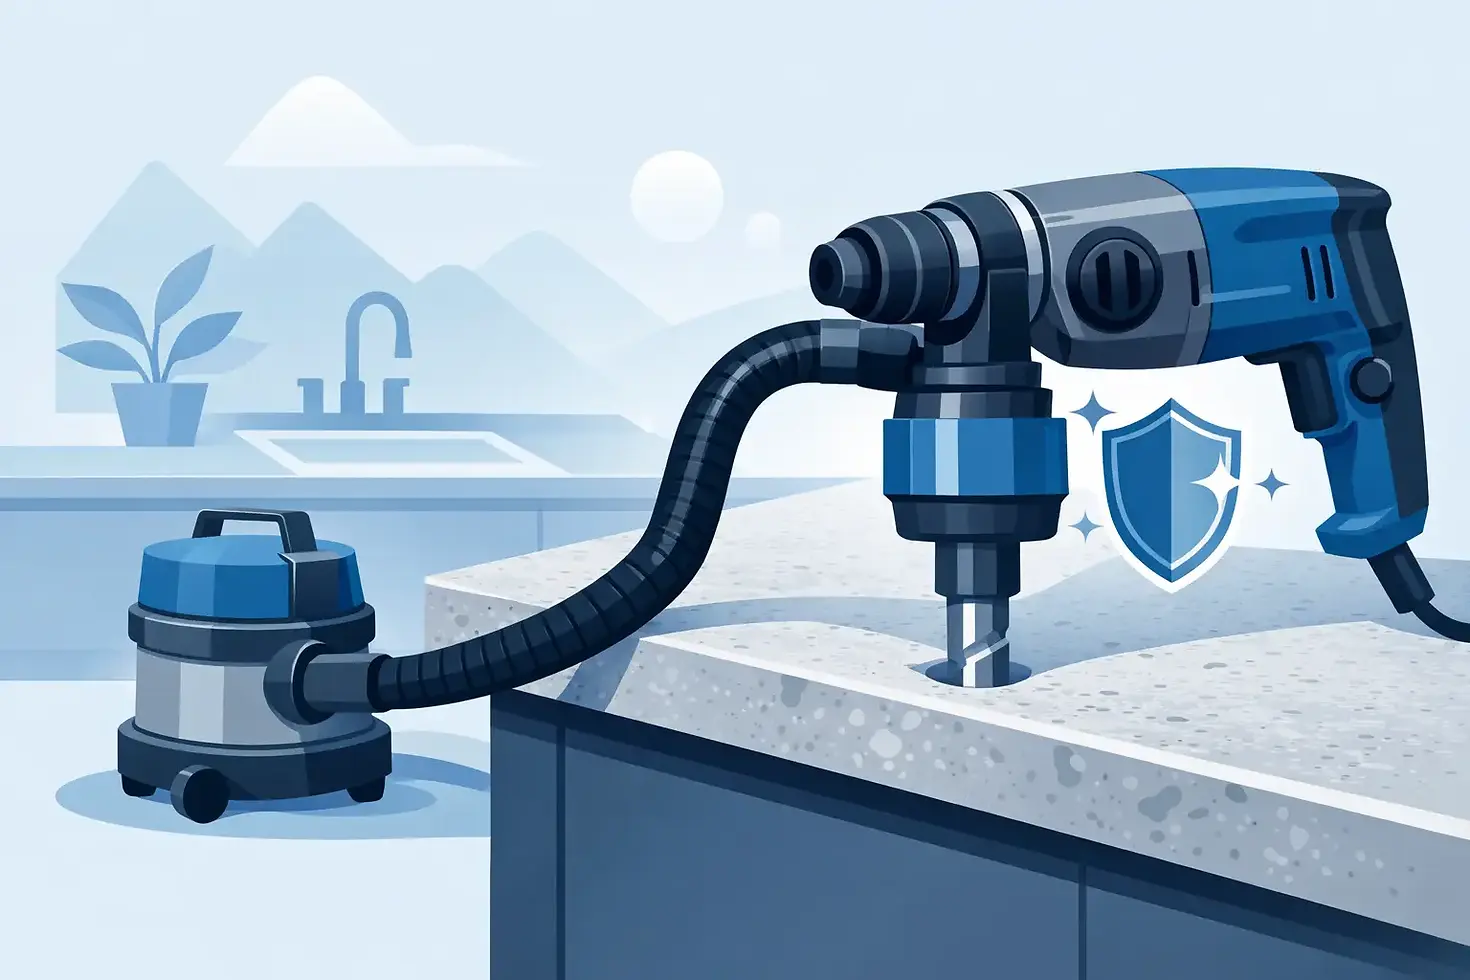
Wet drilling controls both issues. Water suppresses dust at the point of work and keeps the diamond drilling tool cool. It also supports a cleaner cut, reducing the chance of heat damage and edge breakout. Water needs to be controlled properly, however. It is not simply a matter of spraying a hose over the bench. A professional setup contains slurry, protects cabinetry, and keeps the work area tidy.
Assessing the Safety of Drilling
The first decision is whether the stone can be drilled safely. Not every benchtop should be drilled in the same way or at the same location. Stone type, thickness, existing damage, and the distance from vulnerable edges all affect the job.
Natural stone can vary considerably from slab to slab. Veins, fissures, and resin-filled sections may alter how the material behaves under pressure. Engineered stone has its own considerations, including silica content and applicable safety requirements. Porcelain and sintered surfaces are hard and can be more prone to chipping if drilled with unsuitable tooling or poor technique.
The location matters just as much as the material. Drilling close to a sink cut-out, cooktop opening, benchtop join, or unsupported overhang may increase the risk. The installer also needs to check below the stone for cabinet rails, drawer runners, plumbing, electrical wiring, and appliance clearances.
A specialist will assess the proposed position before confirming the work. Sometimes the ideal location is safe and simple. Other times, moving the fitting slightly can protect the slab and avoid an expensive repair. If a hole is too close to an edge or structural weak point, the honest answer may be that it should not be drilled there.
Planning Before Drilling
Precision starts before the drill begins. Stone drilling is often the last stage in a kitchen upgrade, when cabinets, splashbacks, and appliances are already installed. That makes planning critical. The tap may be supplied by the plumber, the power point by the electrician, and the cabinetry by another trade. Everyone needs to be working from the same measurements.
Before booking the work, confirm the make and model of the fixture and its required hole size. Check whether the fitting needs a round hole, a larger opening, a recess, or additional clearance beneath the benchtop. A pop-up power point, for example, may need room for its body and cable routing below, not just a correctly sized hole on top.
Photos are useful for an accurate quote and job assessment. Clear images should show the full benchtop, the proposed drilling location, the underside where possible, nearby sink or cooktop cut-outs, and the fixture to be installed. A measurement from the rear edge and the closest side edge helps establish the intended center point.
Do not rely on a rough mark made before the sink, tap, or splashback has been finalized. Once the stone is drilled, there is no practical way to move the hole. Confirm the final position with the relevant trade before the work begins.
How On-Site Wet Drilling Protects the Finished Space
The best result is not just a clean hole. It is a clean hole completed without turning the kitchen into a worksite again.
A proper on-site process starts with protecting the immediate area. Benchtops, cabinet faces, flooring, and nearby appliances need suitable coverings. The drilling area is measured, marked, and checked again against the fixture requirements. The hole is then drilled with purpose-made diamond tooling and controlled water to manage dust and heat.
Drilling speed and pressure matter. Pushing too hard can grab the material or damage the exit edge underneath. Going too fast can overheat the tool and increase the risk of chipping. The operator needs to keep the drill stable, maintain water control, and adjust the technique for the stone being worked on.
The underside of the benchtop deserves attention as well. This is where plumbing, electrical components, and mounting hardware need to fit. A neat top surface is only part of the job if the hole leaves no practical room to secure the fixture.
Once drilling is complete, slurry and residue should be cleaned from the work area, and the hole checked against the fitting. This is particularly useful where a plumber or electrician is attending after the modification. A correctly drilled hole helps the next trade complete their work without forced fittings, makeshift enlargements, or a second visit.
When Drilling is Better Than Replacing Stone
For a single extra tap hole or a new power point opening, removing and refabricating a benchtop is usually unnecessary. It can involve disconnecting plumbing, lifting heavy stone, risking damage during transport, and waiting on off-site workshop availability. It may also be impossible to match an existing slab, particularly with natural stone or discontinued engineered colours.
On-site drilling is often the practical option when the benchtop is otherwise in good condition. It keeps the alteration localized and allows the kitchen upgrade to move forward without replacing a high-value surface.
That said, drilling is not always the answer. A benchtop with existing cracks, significant movement, poor support, or a proposed hole in a high-risk location may need a different solution. Safety and stone integrity come first. A fast job is not a good job if it creates a bigger problem.
Choose a Specialist, Not a General Drilling Service
A standard handyman drill kit is not designed for modifying installed stone benchtops. The work requires the right diamond tools, wet-cutting methods, containment, experience with different stone materials, and an understanding of the trades that follow.
It also requires a clear focus on silica safety. If someone proposes dry drilling in your finished kitchen or treats dust control as an afterthought, that is a warning sign. Ask how they manage water, slurry, surrounding surfaces, and the specific risks of the material being drilled.
StoneCut carries out specialized on-site wet cutting and drilling for Sydney benchtops, including holes for taps, power points, Zip taps, and other kitchen upgrades. The aim is straightforward: accurate modifications, controlled dust, and no unnecessary removal of your stone.
Before the plumber or electrician arrives, confirm the fixture details, send clear photos, and get the drilling position checked. A few minutes of planning can protect a benchtop that took far more time and money to choose.


Comments